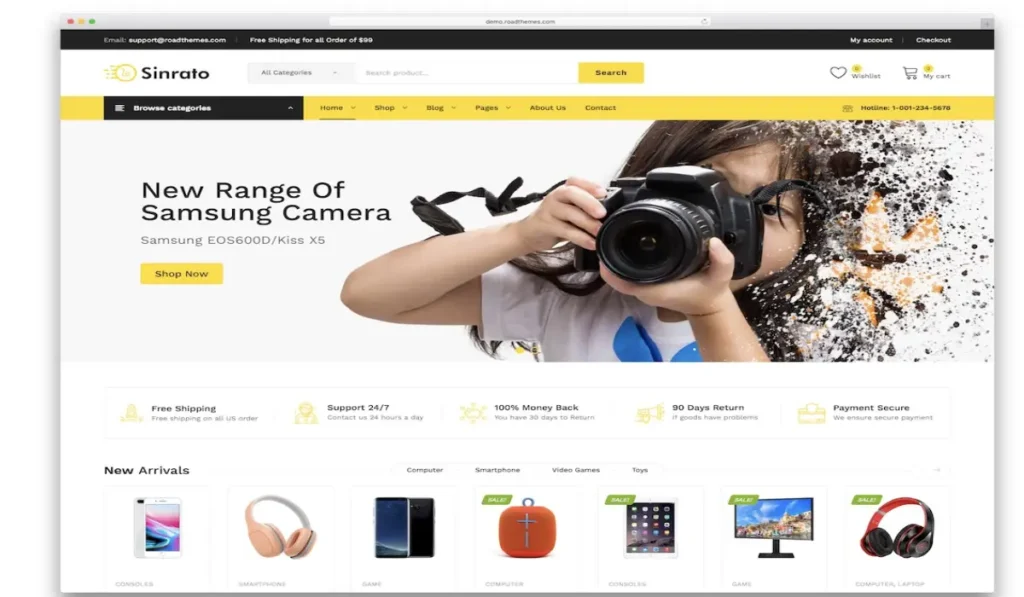
If you’re looking to create a custom Shopify theme in 2025, you’ve landed in the right place. Shopify is a powerhouse platform for e-commerce, and having a custom-designed theme can set your store apart from the competition. Designing a Shopify theme from scratch might seem like a daunting task, but with the right approach and tools, you can create something amazing. Let’s walk through the step-by-step guide on how to design Shopify theme from scratch in 2025.
What Is a Shopify Theme?
A Shopify theme is the template that determines how your online store looks and functions. It controls everything from your site’s layout and design to its features and user experience. Shopify themes are built using:
- HTML (for structure)
- CSS (for styling)
- Liquid (Shopify’s templating language)
- JavaScript (for interactivity)
With a custom theme, you’re in control. You can make your store match your brand perfectly and ensure it’s optimized for conversions.
Best Ecommerce Site WordPress Theme Recommendations for 2025
Why Design Your Own Shopify Theme?
- Uniqueness: Stand out from competitors by offering a one-of-a-kind shopping experience.
- Customization: Tailor every element to fit your brand’s personality.
- Flexibility: Add or remove features as your business grows.
- Performance: Build a lightweight theme to improve loading times and user experience.
Tools You Need to Get Started
Before diving into the design, gather these tools:
- Shopify Partner Account
- A Partner account allows you to test and build themes without paying for a store.
- Code Editor
- Use tools like Visual Studio Code for editing code.
- Shopify Theme Kit
- Shopify’s command-line tool for theme development.
- Image Editing Software
- Tools like Canva or Photoshop for creating graphics.
- Browser Developer Tools
- Inspect elements and debug code using tools like Chrome DevTools.
- Knowledge of HTML, CSS, Liquid, and JavaScript
- These are the foundational languages for Shopify theme development.
Related: 21 Best Product WordPress Themes, Plugins, and Template Kits for 2025
Step-by-Step Guide on how to design Shopify theme
1. Plan Your Theme Design
Before you write a single line of code, plan out what you want your theme to achieve. Think about:
- Target Audience: Who are you designing for? What are their preferences?
- Features: What unique features does your store need (e.g., product sliders, quick views)?
- Brand Identity: Choose colors, fonts, and layouts that reflect your brand.
Create a wireframe or sketch of your theme layout. This will serve as your roadmap.
2. Set Up Your Development Environment
Here’s how to set up your workspace:
- Install Shopify Theme Kit. Run the command:
npm install -g @shopify/themekit - Authenticate Theme Kit with your Shopify store.
- Download a starter theme like Dawn (Shopify’s default theme).
3. Structure Your Theme
A Shopify theme’s file structure looks like this:
| Folder/File | Purpose |
|---|---|
| Assets | Contains images, CSS, and JavaScript files. |
| Config | Stores theme settings. |
| Layout | Handles site-wide templates (e.g., theme.liquid). |
| Sections | Modular components like headers and footers. |
| Templates | Page-specific templates (e.g., product.liquid). |
4. Build the Header and Footer
Start with the basics: the header and footer. These elements appear on every page of your site.
- Header: Include your store logo, navigation menu, and a search bar. Example code:
<header> <div class="logo">{{ 'logo.png' | asset_url }}</div> <nav> {% for link in linklists.main-menu.links %} <a href="{{ link.url }}">{{ link.title }}</a> {% endfor %} </nav> <div class="search">Search</div> </header> - Footer: Add social media links, copyright text, and a newsletter signup.
5. Design the Homepage
Your homepage is your storefront’s first impression. Include:
- Hero banners
- Featured products
- Promotional sections
Use Liquid to dynamically pull in content from Shopify’s admin.
6. Customize Product Pages
The product page is where conversions happen. Optimize it by adding:
- High-quality images
- Product descriptions
- Add-to-cart button
Example Liquid for product details:
<h1>{{ product.title }}</h1>
<p>{{ product.description }}</p>
<span>{{ product.price | money }}</span>
<button>Add to Cart</button>
7. Create Custom Sections
Sections let users customize their store without touching code. For example:
- Slideshow Section:
{% schema %} { "name": "Slideshow", "settings": [ {"id": "image", "type": "image_picker", "label": "Image"} ] } {% endschema %} <div class="slideshow"> <img src="{{ section.settings.image }}"> </div> - Testimonials Section: Showcase customer reviews dynamically.
SEO and Performance Optimization
To ensure your theme performs well:
- Minimize Code: Remove unnecessary CSS and JavaScript.
- Use Lazy Loading: Load images only when they appear on the screen.
- Optimize Images: Compress images using tools like TinyPNG.
- Mobile Responsiveness: Test your theme on different devices.
Testing Your Theme
Before launching, test your theme:
- Performance Testing: Use tools like Google PageSpeed Insights.
- Cross-Browser Testing: Ensure your theme works on Chrome, Safari, and Firefox.
- User Testing: Ask friends or colleagues to navigate your store.
Launching Your Theme
When you’re ready, upload your theme to Shopify:
- Zip your theme files.
- Go to Online Store > Themes in Shopify Admin.
- Click Upload Theme and select your file.
Maintenance and Updates
Keep your theme fresh and functional by:
- Updating it regularly.
- Adding new features based on customer feedback.
- Keeping up with Shopify’s latest features.
Designing a Shopify theme from scratch in 2025 is a rewarding process. It allows you to create a unique and optimized shopping experience tailored to your brand’s needs. By following the steps outlined here, you can go from idea to a fully functional theme that sets your store apart.


